


Fixing synchronisation problems using a video editor
One of the most common problems with desktop video is when video and audio gets out of synch. In the old days we used to extract the audio content, decompress it into a wave file, edit the wave file, recompress it and combine it with the video again. This solution has two distinct drawbacks: it's very difficult to determine how to exactly adjust the decompressed audio file to obtain precise synchronisation, and the sound quality is seriously degraded by the recompression of the audio.
This text describes a much simpler and faster way to solve most of these problems without these drawbacks, using cheap or even free software.
Pro-active solution
First a general suggestion: I believe that most synchronisation problems occur because of incompatibilities between video and audio codecs, i.e. the small pieces of software that helps your Windows system encode and decode digital audio and video. Whenever you install a sound or video editor, a player program or even a CD writing program, you install more and more of these little useful but complicated things. The more codecs you have installed in your system, the more conflicts you can expect between them. There may be version conflicts between different versions of the same codec, or your applications may be forced to use codecs different from the ones they came with - and have been tested with.
To avoid synchronisation problems, you may consider running your most important video applications in separate environments. In my case, I used PartitionMagic to create three separate hard disk partitions (Windows installations) for capture, edit/burn and sound editing. Since each of these codec-sensitive program now runs it its own isolated environment, using only the codecs it came with, results are much more predictable and support issues are much easier to handle. The overhead of rebooting into different Windows partitions is neglible compared to the problems you avoid.
Corrective solution
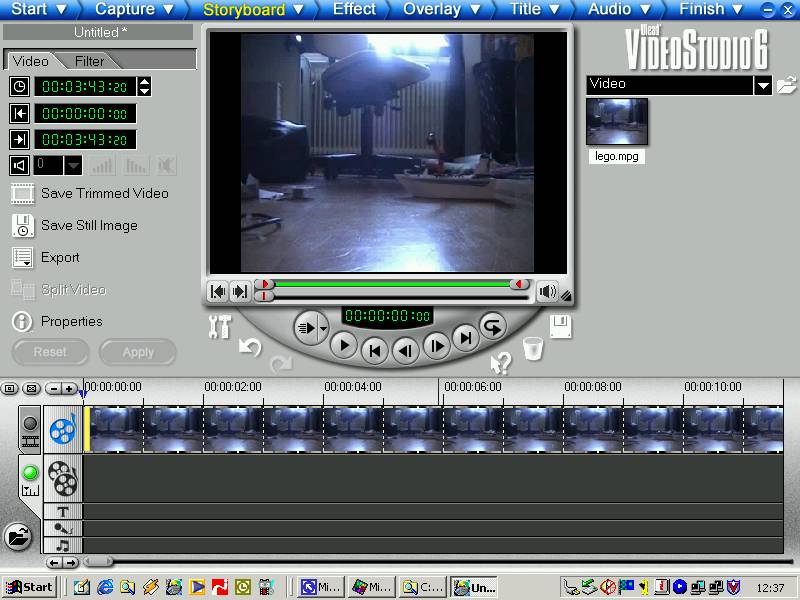
To fix synchronisations problems in a simple way, you need a video editor with at least one additional, separate sound track (e.g. for voice or music overdubs). I use Ulead VideoStudio, which I consider one of the best programs around. It's also fairly cheap.
Avoiding sound quality degradation
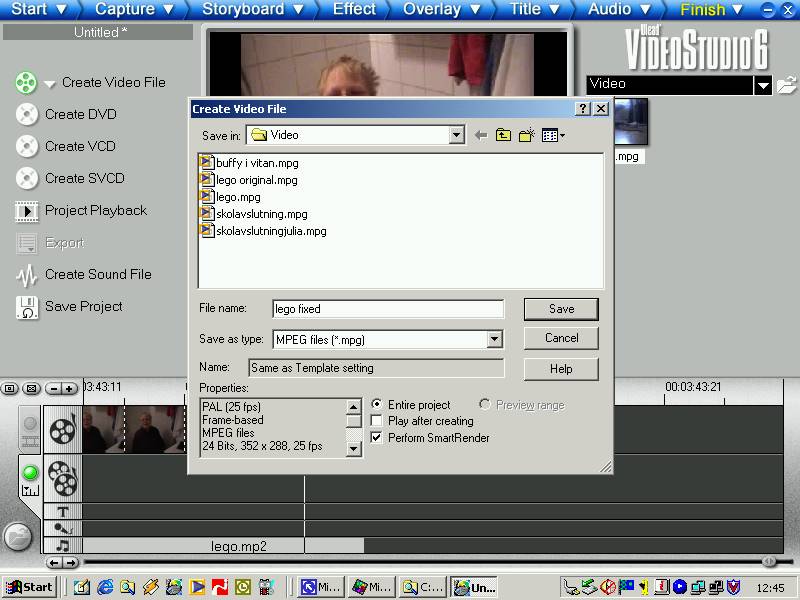
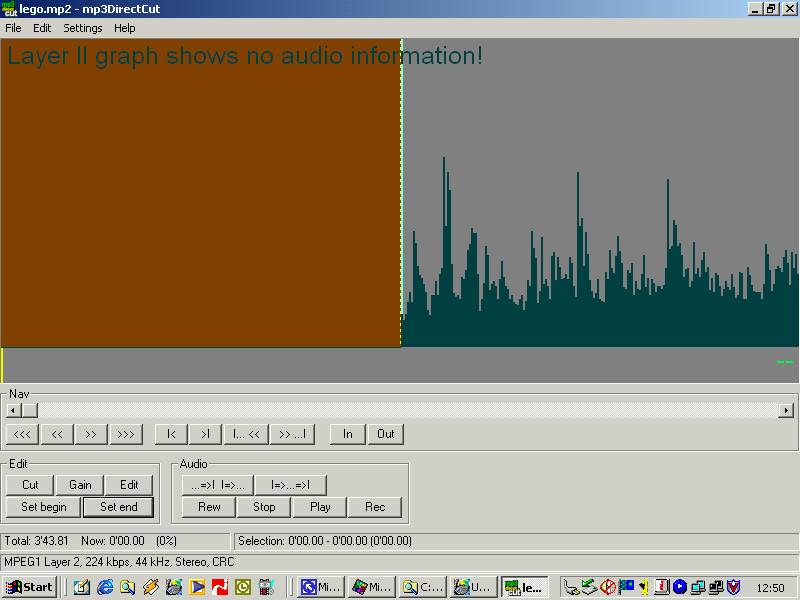
To maintain the original sound quality, you may instead trim the mp2 file directly, then combine it with the video without recompression. The MP3DirectCut editor available at http://www.rz.uni-frankfurt.de/~pesch/ provides a fast and simple way to manipulate mp2 and mp3 files without recompression.
One problem you will encounter is that video editors normally use a h:m:s:f notation, where "f" is the frame number. MP3DirectCut uses the h:m:s:d notation, where "d" is the decimal portion (e.g. "0:0:0:5" for half a second). Before you edit the sound file, you need to convert the exact offset between the two notations. Use the "h:m:s" part exactly as it appears in the video editor. Divide the number of frames displayed in the video editor (e.g. 4) with the frame rate of your video (e.g. 25 for PAL or 30 for NTSC) to obtain the decimal equivalent. In my example above, 0:0:0:4 in Ulead VideoStudio becomes 0:0:0:16 (4/25) in the MP3DirectCut editor.


A final tip
In the worst case, you will achieve synchronisation for one part of the video but the sound will then gradually start to drift out of synch again. In this case you may consider splitting the original video file into two or more separate files before you correct the synchronisation problem separately for each file using the instructions above. Since this can be very time-consuming, you may instead decide to implement the pro-active solution described at the beginning of this tutorial. With an isolated environment for each multimedia application, you may never have a synchronisation problem again.
This document was last updated on 07/01/02