VCD to DivX conversion
Again one of my favorite "don't do" subjects. As you're not starting out with a DVD source you have to accept an incredible drop in quality compared to a regular DivX DVDRip.
You'll need the following software in this guide:
VirtualDub
DivX3 or DivX4 codec (after your
preference)
VCDGear
Table of content:
1: DAT to MPG conversion
2: Transcoding
Upon inserting the DVD into your drive you'll see the following directory structure:
15.01.2002 11:09 <DIR> CDI
15.01.2002 11:09 <DIR> EXT
15.01.2002 11:09 <DIR> MPEGAV
15.01.2002 11:09 <DIR> SEGMENT
15.01.2002 11:09 <DIR> VCD
In the MPEGAV directory you'll find a file called AVSEQ01.DAT which you'll copy to your harddisk. If the disc has multiple tracks then there will be a number of consecutively named .DAT files which you're all going to copy and convert after the following procedure.
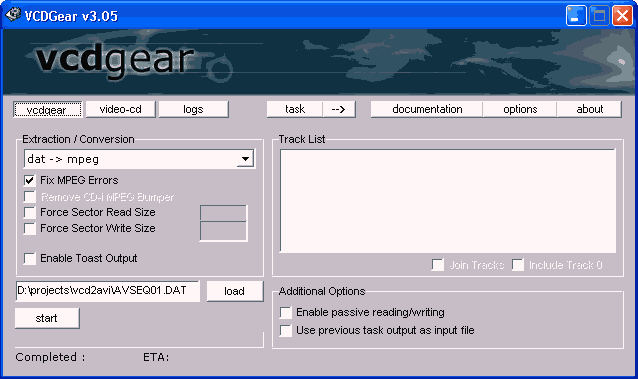
After the copying open the .DAT file in VCDGear

First select dat -> mpeg from the Extraction / Conversion dropdown list and also check Fix MPEG Errors just in case. Then press the Load button and select your DAT file. After selecting the .DAT file you'll have to select a filename for the output file. Then press Start to start the conversion.
Once VCDGear is done close it and start VirtualDub.
In VirtualDub press Control-O and select the .MPG file you just created in VCDGear as source.
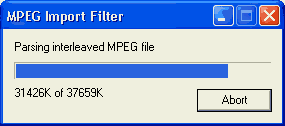 Here you can see VirtualDub scanning the MPEG-1 file.
Once the file has been loaded set Audio to Full Processing Mode:
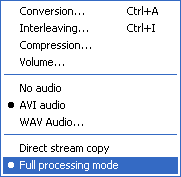 Then select Compression...
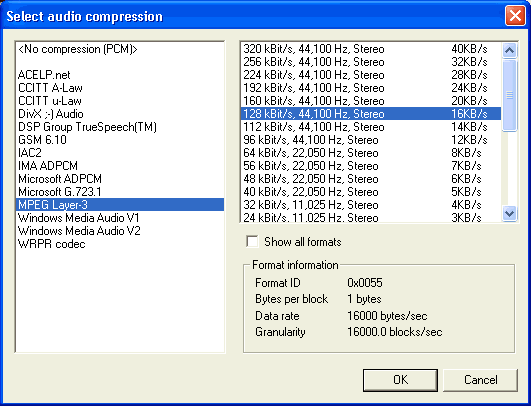 Select
MPEG Layer-3 at a bitrate of 128kbit/s (more doesn't make much sense, and for
the low quality video doing a VBR MP3 track would be overkill, too).
If you don't have the MPEG Layer-3 codec install the DivX3 codec or the Radium codec (both available from my page).
After the selection press OK.
Then set Video to full processing mode (Video -> Full processing mode) and then press Control-F to bring up the filter selection dialogue. There press the Add button and select the resize filter from the list and press OK to configure it:
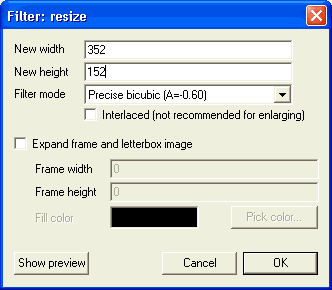 here you'll need your calculator. Depending on the aspect ratio of your movie you have to put a different height. Please refer to amazon.com or imdb.com to find the aspect ratio of the movie. The rule of thumb here is if it's full screen it's 1:1.33, if it has big black bars it's 1:2.35 and if it has small black bars it's 1:1.85. The width is always 352 and the filter mode Precise bicubic (A=0.60).
1:2.35: 352x152
1:1.85: 352x192
1:1.33: 352x264
Then press OK. Again in the filter selection insertion window you can now press the Cropping button on the left side:
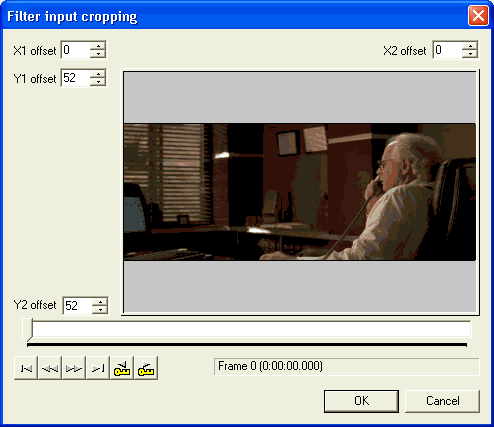 Increase the Y1 offset and Y2 offset until you can see no more black bars, then press OK twice to get back to the main VirtualDub window.
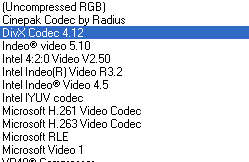
Then press Control-C to bring up the video compression codec selection. Select DivX 4.12 or DivX ;-) MPEG-4 Low-Motion codec from the list depending on your preference and then press the Configure button.
For DivX4 I would suggest 1 pass as Variable Bitrate Mode, then a low bitrate (500kbit/s or even lower, you have a really tiny picture after all), and leave the rest at the default settings. For DivX3 use all the default values except that you lower the bitrate to the same region.
Once that's done press OK twice to get back to the main VirtualDub window and press F7 to start encoding (you'll be asked for an output filename before encoding starts). Wait a not so long time and your movie is done.